
The Five Most Common Passive Guitar Wiring Mistakes
Lane Sparber
Altering your guitar’s electronics can be a lot of fun, and the results can change your instruments’ sounds dramatically. After over 30 years as a guitar and amp tech, I often think I’ve seen it all…the good, the bad, and of course the heinously ugly. Even so, I still get surprised now and then at my clients’ wiring ingenuity and creativity. I’d like to present here what I’ve found to be the most common mistakes I encounter under the hood. I’ll then go over how to rectify these common errors so that you can successfully rewire your axes and get back to PLAYING, which is what it’s truly all about.
1. Know What The Goal Is … and Isn’t
I know that this isn’t technically a “wiring” mistake, but not having a full understanding of what you want to accomplish with your wiring mod is the single biggest blunder I’ve seen people make with their instruments. For example, ask yourself: what specifically do I want to change? What’s not working for me as is? Are you looking to alter the sound of the instrument? If so, how? Are you installing new pickups, pots, or caps? Why? Do you understand exactly what these changes will do? Most don’t. [Conversely, if the guitar is currently broken and has stopped working altogether, you can skip to topics #2-#5 for some hopefully helpful advice.]
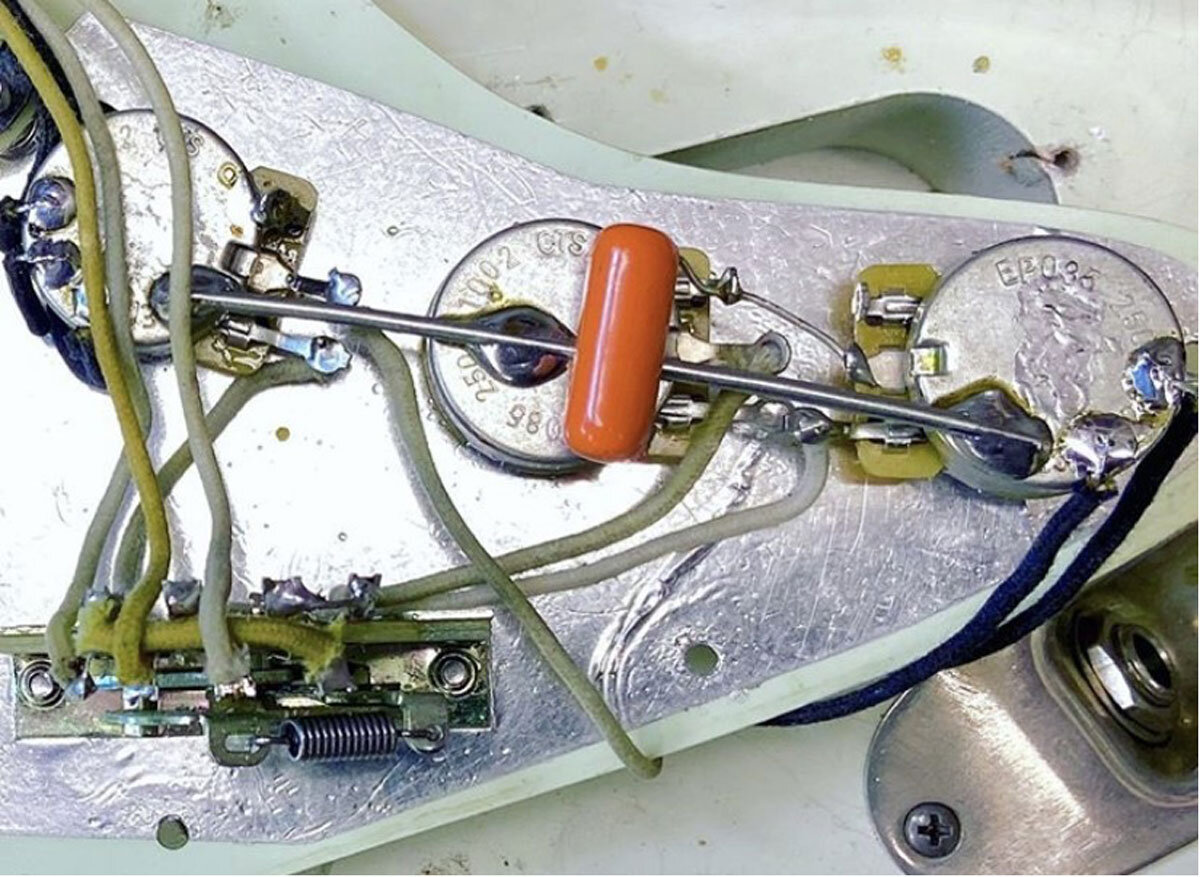
For starters, a lot of my customers are infatuated with the idea of changing out the capacitors on their tone controls. These musicians are almost always surprised when they switch out one cap for another of the same exact value using different materials (such as changing out a polypropylene cap for an oil filled, etc.). To be sure, this will make a difference, but in reality it’s a FAR less drastic difference than they anticipate it to be. One should also bear in mind that the tone caps are (almost) completely out of the circuit with the tone knobs all the way up. If you’re like a lot of players out there who don’t even use their tone controls and just leave everything on “10” the whole time, any perceived change will be minimal at best. If you DO use your tone controls, then changing these caps’ VALUES will have a far more drastic effect than just changing the cap TYPE. In the most basic sense, the larger the cap’s value, the more highs and high-mids they’ll remove from your signal as you roll the tone knob down. Jazz players tend to favor larger value tone caps for just this reason so that they can get a nice, mellow tone.
Others want to change out the control pots themselves, and this usually imparts an even more subtle change. If you’re interested in a different taper (how gradually they lower the volume and/or tone of the instrument along the pot’s travel), then have at it and experiment to find what works best for your rig. Changing a pot’s value is also effective, but, again, it’s usually FAR more subtle than most expect it to be. In general, the larger the pot’s value (500k-1 Meg, for example), the brighter the guitar will sound with all volumes at full. Historically, 250k pots have been used with single coil pickups to tame their inherent brightness a bit, and 500k-1meg potentiometers have been used with humbuckers for the opposite reason. The only rule is that there are no rules, so go right ahead and experiment - you won’t hurt anything. I just want to caution you to have realistic expectations about how much change will actually happen here. Some of my more “dog-eared” clients hear a huge change in simply going from a 250k to a 500k pot in a given guitar, but in my experience most won’t notice much of a difference at all.
So, as you can see here, a clear understanding of exactly how electronic changes will affect your tone is vital before you even reach for that soldering iron. Time and time again I’ve seen musicians disappointed with the changes they made because they didn’t know exactly what those changes would do. Modding your instrument just for the sake of modding it is a mistake that will cost you time, money, and effort. You’ll never be satisfied because you don’t have a clear goal in mind. Thus, going into a rewiring project truly informed about what you want to do is the quickest and most painless way to get what you want out of the project.
2. Soldering: Practice Makes Perfect

Yuck. Please don’t do this to YOUR instruments!
Poor soldering is actually THE most common mistake I’ve seen do-it-yourselfers make. Soldering IS a skill, and there’s an art to doing it correctly. That said, it’s not an especially difficult skill to master. The topic of how to solder correctly is the subject for another whole blog post, and it’s been thoroughly covered elsewhere on the Internet and in electronic books. What I DO want to talk about here is the fact that you want to practice and master the skill BEFORE you touch your guitar or bass. All too often, an instrument winds up on my bench because while the ideas behind the changes were good, the lack of soldering skills ruined it. A solder joint should be shiny and round-ish with no sharp edges. There should also be a strong mechanical connection between components BEFORE you solder, because solder is NOT glue, and shouldn’t be thought of as such (circuit boards and such are a different matter entirely). Too much solder can short things out and kill your signal, and too little won’t provide enough reinforcement. In addition, too much heat from the iron can actually roast the solder and parts involved, and too little heat won’t create a strong reinforcement. If your solder connections are blobby and a dull gray in color, you need to remove the solder and start again. You should NOT be learning how to solder on your most beloved guitars. Just as you wouldn’t learn auto repair on a classic vintage T-Bird, it’s no different when it comes to your instruments. Buy some simple electronics kits and practice on them before you reaching for that classic Strat – you only want to have to do this once!
3. Life Under Lockdown

A gaggle of humble lock washers in their natural habitat.
Every time you manipulate your guitar’s controls, and every time you use its switches, there is a small amount of force involved. Over time, the effects of this force build up and the parts involved work themselves loose. We’ve all been there, and it can happen to ANY guitar, regardless of construction and price point. When this happens, the pots and switches can actually break their electrical connections as they spin back and forth over time. This is why I always use and recommend “lock washers” on everything, and I’ve almost NEVER seen a home-wired guitar that has used them. Additionally, often when they ARE used, they’re used incorrectly. Lock washers seem to be thoroughly misunderstood. A lock washer has little “teeth” along their inner diameter that grab and dig into the materials they’re sandwiched between (usually the pot or switch itself and the wood or pickguard it’s mounted to), and this keeps them from working loose over time. They really work, and they can help ensure that nothing comes loose for an infinitely longer period of time then if they weren’t installed. The washers go on the INSIDE of the guitar or pickguard, not outside where they can mar a visible surface – that’s important. It pays to keep a small stash of them handy in various common sizes if you do electronics work often, because many components just aren’t supplied with them.
Here’s another pro-tip about this same topic: I often wire an extra heavy buss wire right across the backs of all of the pots. This heavy wire will help to ensure that even if a component DOES manage to come loose, the component itself won’t spin around and destroy its wiring, and you can then finish the session/gig/tour without being in danger of your guitars’ electronics failing on you when you need it most!
Here’s a pic of a Strat style guitar that I recently repaired. Note the huge, 12 gage buss wire that runs along the back of the pots. In addition to providing adequate grounding, it helps steady the pots and keep them from spinning and breaking their electrical connections should they come loose.
4. Stay Grounded!
This is another biggie that I see done wrong all the time. Various components in your guitar or bass need to be connected to “ground” or “earth.” This is the zero reference point for your signal, and connects to your guitar through the sleeve (long shafted part) of your cable’s connector. The backs of all of the potentiometers, as well as certain internal connections need to be grounded to function properly (and keep the guitar safe). When it comes to guitar grounding schemes, there are several mistakes and misconceptions I’ve seen constantly that I’d like to address here for you.
The first is the most basic. It may seem controversial, but I assure you it’s true: There is no such thing as a ground loop in a passive guitar (active electronics are different, of course). Ground loops create an annoying hum when they occur, and they can be devilishly difficult to track down. Now, this might get a bit technical, but please bear with me: A ground loop can usually ONLY happen two ways: if high and low current returns are mixed together at a specific ground connection, or the same ground path references more than one ground potential. Here’s the important take-away from all of this: in an instrument with passive electronics, there is only ONE current source, and it’s the high impedance, low current guitar signal generated by the pickups. This eliminates the first scenario. Additionally, there is only ONE ground path in your guitar (basically, ground is ground, and that’s it). So that eliminates the second potential problem area. For some reason, this is one of the most prevalent and pervasive myths out there. I’ve seen a LOT of high-level techs and even some AMAZING pickup manufacturers talk of the dangers of creating ground loops when wiring your passive instrument, and it always boggles my mind.
Why do I bring all of this up? Because when it comes to passive guitar wiring, you need as strong and as rugged of a ground connection for each component as you can, and to do this you can use as many redundant connections as you like. There should be AN ACTUAL WIRE (or, as stated above, a heavy-duty bus wire) connecting all of the pots to each other. I do mean an actual, physical wire here. Often, a novice will solder a wire from the jack sleeve to the back of the nearest pot, and rely on the thin foil shield on the back of the pickguard (in a Strat style guitar) or possibly the shielding paint on the inside of the control cavity to carry the ground to the other pots and switches. This is a serious mistake, because when these pots and switches eventually work themselves loose (see #3 above), they will chew up and lose contact with said foil or paint. This will make your guitar intermittent (bad), and eventually can silence it altogether (the WORST, unless you were my parents in the 80s). Thus, fear not when it comes to making good, STRONG connections between all grounding points, and do it without fear of creating the dreaded “ground loop” in your passive guitar.
5. Cleaning House
The final common mistake I see involves the wiring itself. In general, you want your wiring to be as clean as possible. Even though lead dress in a guitar’s control cavity is nowhere near as critical as it is in an amplifier, you should still strive to make it spic and span for several reasons. Most critically, leaving your pickups’ leads too long can cause issues. Passive guitar pickups emit a VERY high impedance signal. This means, among other things, that they’re very sensitive to RF noise and outside interference. If you take the “hot” leads off of your pickups and simply coil them up inside the guitar, it could act as an antenna and actually induce hum…or even pick up static or radio stations in extreme cases and environments. This is not so much the case with humbuckers’ cables, as they’re almost always shielded, but it can wreak some real havoc with singe coils. I know most folks like to leave ALL of the length on their pickups’ wires during the installation process in case they want sell them later, and I get it. That said, a BEST case scenario would be to trim everything so that there’s just a fair amount of slack in the wires when soldered into place; ½” to 1” is usually enough extra slack should you decide to cut the leads to fit. If not, try not to tightly coil the excess and lay it out as neatly as you can in the cavity and see where that gets you. The same holds true for any other internal wiring, such as connections between the pots. Don’t pull them taut; leave a little wiggle room should the pots loosen over time (see #3 above). Another benefit of a nice and tidy wiring install is that troubleshooting becomes MUCH easier for yourself and any other tech who is in there after you. If I open a control cavity and can instantly see what every wire is doing immediately, I’m a very happy guy. So are my clients, because they don’t have to pay me for the extra time involved in cleaning anything up in order to just diagnose and fix whatever the real issue is. Here’s my rule of thumb: Whenever I wire anything, I act as if the gear’s owner, their pets, and my worst critics will be looking at and judging my work. In essence, this is exactly what WILL be happening because I post pictures and videos of all of my work on my social media for the ultimate in transparency, and to act as a sort of online resume. In the end, a nice, neat, easy to troubleshoot wiring job is beneficial for EVERYONE in the long run, and it tends to be more reliable than a rat’s nest of wires going all over the place.

This is how a previous tech (top photo) installed a Sustainiac system into a custom guitar. It never worked correctly, and it was a mess (yes, that’s really scotch tape holding stuff together). There were wires going all over the place and poor solder joints galore. So, it wound up on my bench. Rather than try to repair it as it was, it was quicker and easier to just gut it and rewire it my way. Now it works perfectly and it’s very easy to tell where each wire is going should anything fail on it in the future.
The Coda:
Redesigning and upgrading the existing wiring in instruments is one of the most enjoyable jobs I do. I actually look forward to “hot rodding” a guitar or bass and implementing whatever new and innovative ideas that the musicians I work for come up with. I also feel that it should be JUST as much fun for the novice and intermediate solder jockeys out there. If these few simple guidelines are heeded, there’s no reason I can see for anyone not to try. After all, that’s exactly how I started back in the day!

Lane Sparber is an amp/guitar/bass/pedal tech who lives and works in Fresh Meadows, Queens, New York. He started repairing gear in his mid-teens, and he’s 46 now, so you do the math. When not causing mayhem in his workshop, he can be found desperately trying to hide his latest orchid purchases from the rest of his family. You can find him on Instagram at @amptech74 or on Facebook at www.facebook.com/lane.sparber. Come say “Hello!”


